Laurier Avenue Bridge – 1901 & 2013

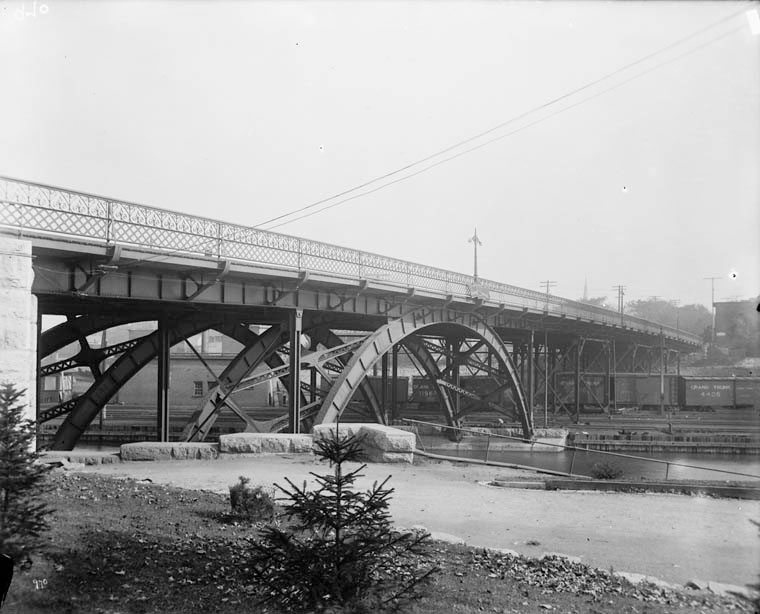
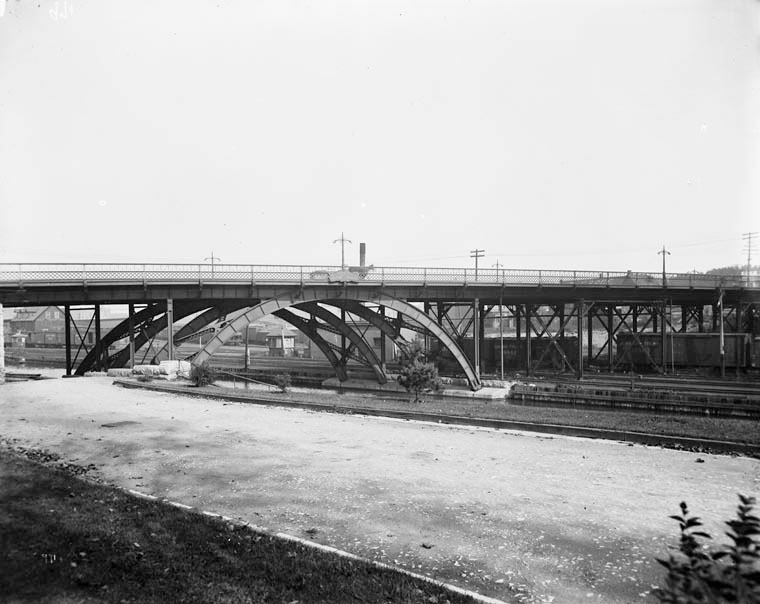
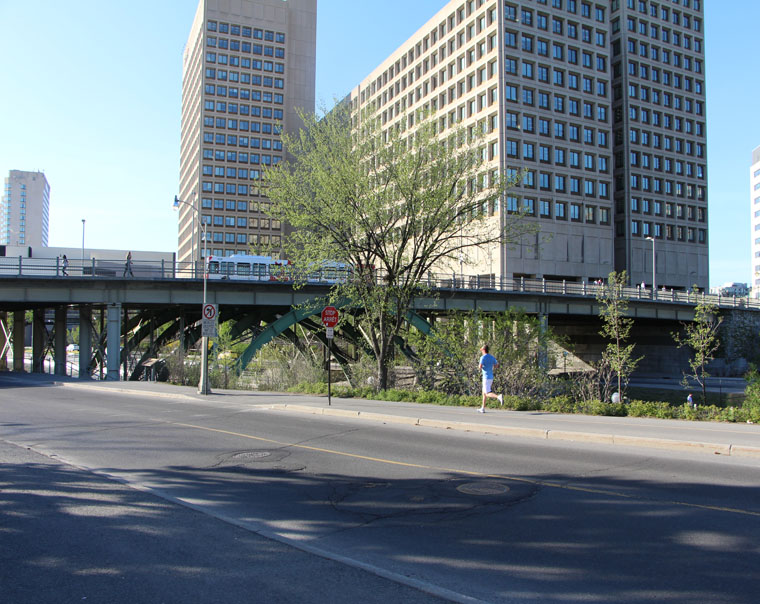
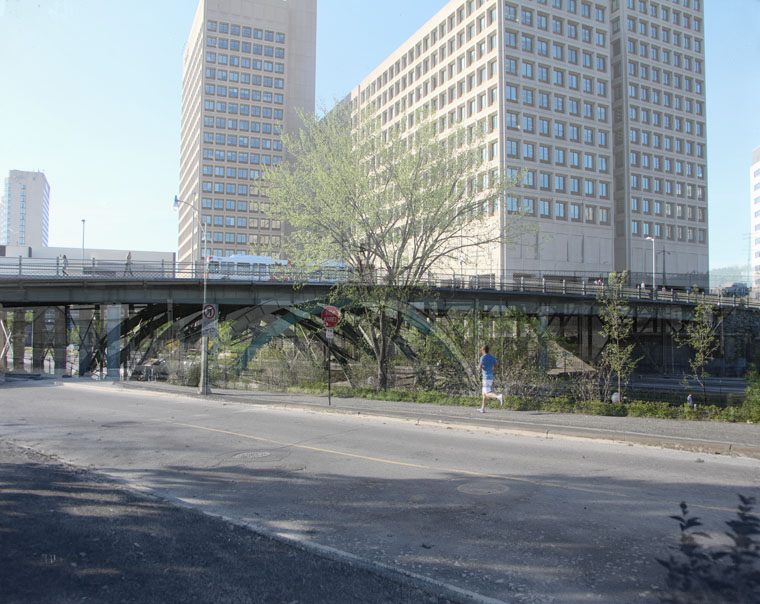
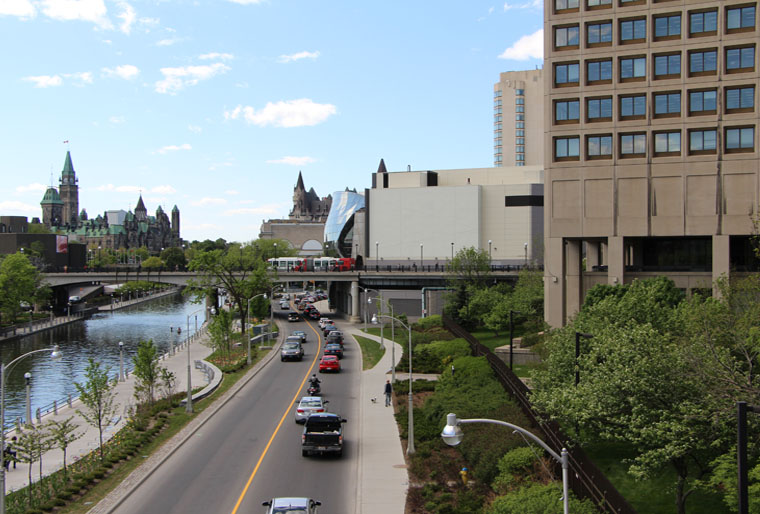
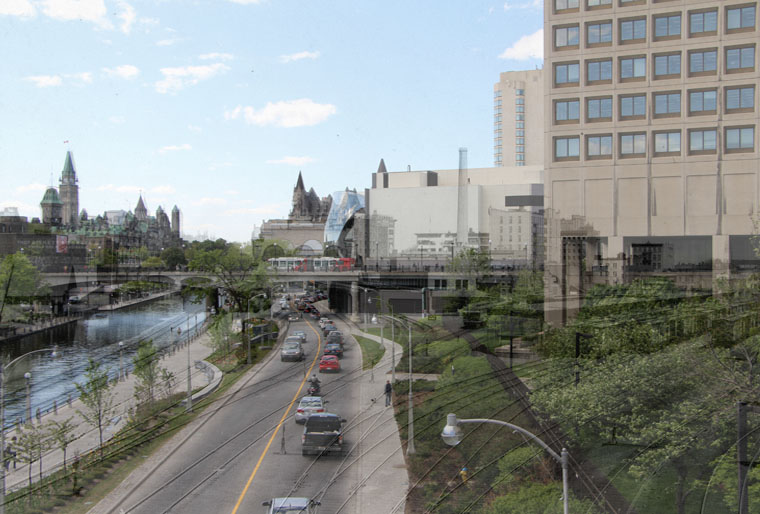
These photos of the Laurier Avenue Bridge were taken by James Topley.

Laurier Bridge over Rideau Canal-1Laurier Bridge over Rideau Canal-2Laurier Bridge over Rideau Canal-blend

Laurier Bridge over Rideau Canal-1Laurier Bridge over Rideau Canal-2Laurier Bridge over Rideau Canal-blend

Laurier Bridge over Rideau Canal 2-1Laurier Bridge over Rideau Canal 2-2Laurier Bridge over Rideau Canal 2-blend

Laurier Bridge over Rideau Canal 2-1Laurier Bridge over Rideau Canal 2-2Laurier Bridge over Rideau Canal 2-blend

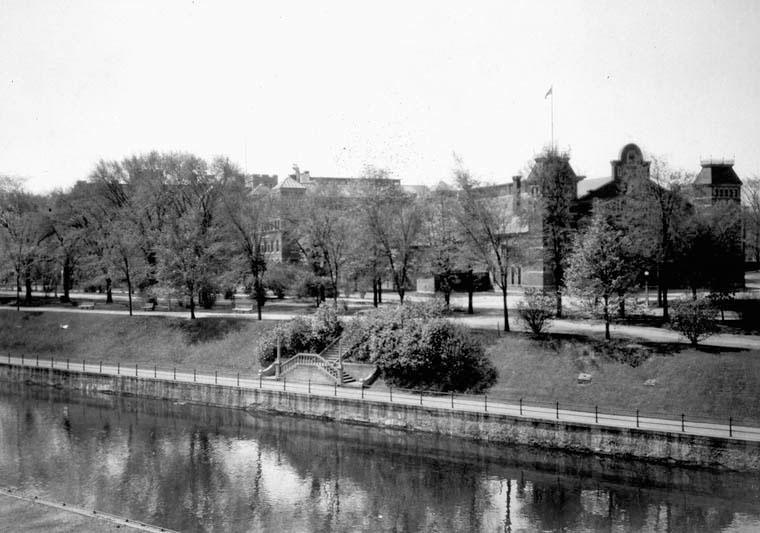
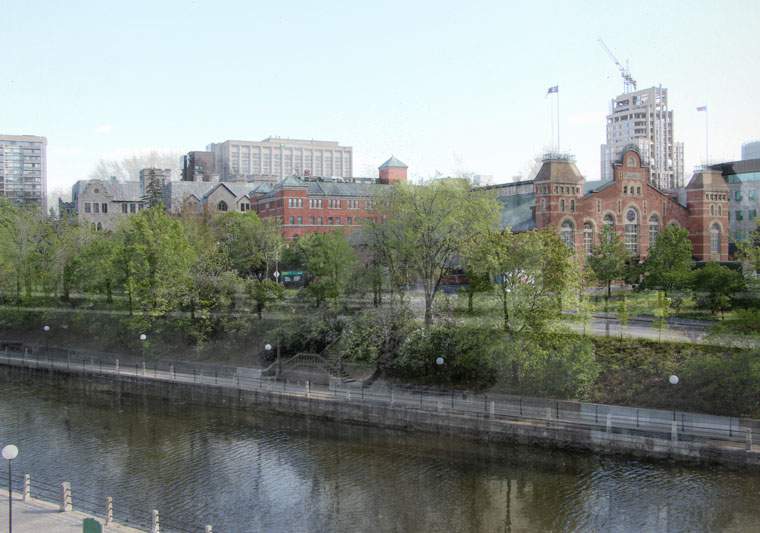
Drill Hall From Laurier Avenue Bridge

DrillHall-1-1920s-1DrillHall-1-1920s-2DrillHall-1-1920s-blend

DrillHall-1-1920s-1DrillHall-1-1920s-2DrillHall-1-1920s-blend

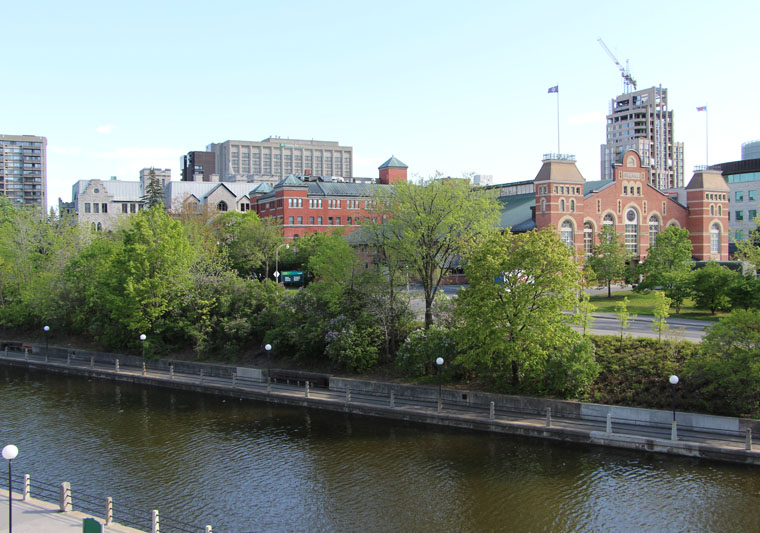
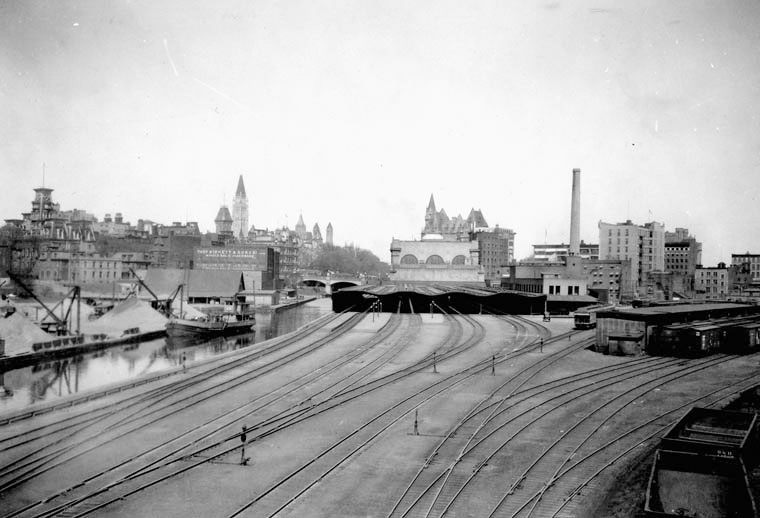
Union Station From Laurier Avenue Bridge

UnionStation-1-1920s-1UnionStation-1-1920s-2UnionStation-1-1920s-blend

UnionStation-1-1920s-1UnionStation-1-1920s-2UnionStation-1-1920s-blend

UnionStation-2-1920s-1UnionStation-2-1920s-2UnionStation-2-1920s-blend

UnionStation-2-1920s-1UnionStation-2-1920s-2UnionStation-2-1920s-blend

Laurier Avenue Bridge Links

Wikipedia: Laurier Avenue Bridge


View Larger Map